
Hi there! I’m Christina, a mom of two littles, a licensed mental health therapist, and a soon-to-be children’s book author! Thanks for checking out my site. Look around! Besides this comprehensive guide to DIY makeover your front porch entryway on a budget, I’m sure there’s something for you!
If you are a homeowner, then you know that there is always work to be done and parts of your house to be updated. The number of renovation projects can feel endless! And the amount of money needed to be spent can keep you from doing upgrades altogether. Then you throw being a parent into the mix, and you wonder how you can carve out the time to do any home improvements!! (I have a post coming soon about doing small home construction projects as a parent, so stay tuned!)
But, even though renovating your home with your already hectic parenting and life schedule takes some extra planning, the good news is there are always some projects that you can tackle by yourself, saving you money!
And the satisfaction and pride you’ll feel when you finish is amazing!
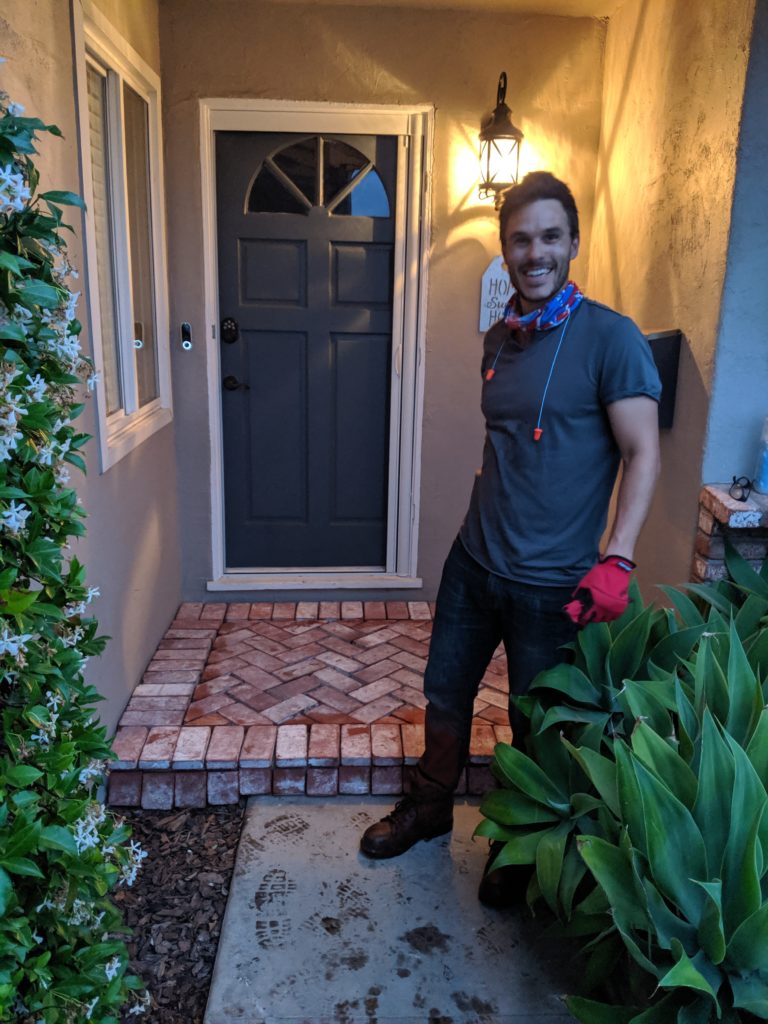
This was our small-ish project: DIY makeover your front porch entryway on a budget!
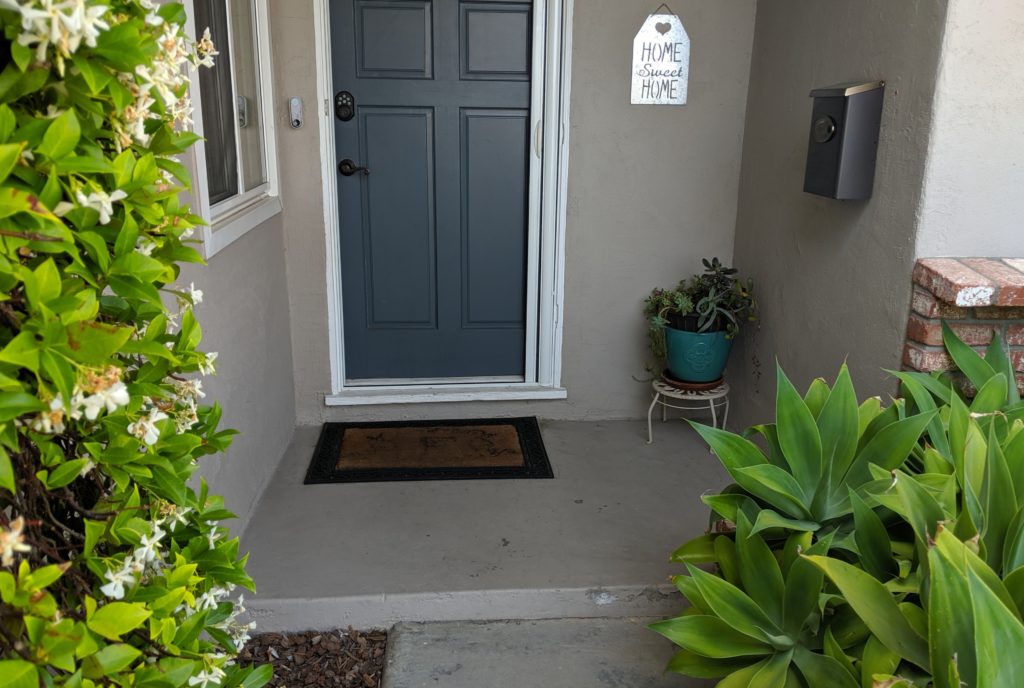
Our front porch step was a small cement step that had been painted by the crew that painted our house when we moved in. It did the job, but it didn’t look particularly cozy or welcoming. And the paint had started chipping with the years of foot traffic.
So my husband and I had on our to-do list to DIY makeover the front porch step, but we needed to consider our budget and the scope of the project.
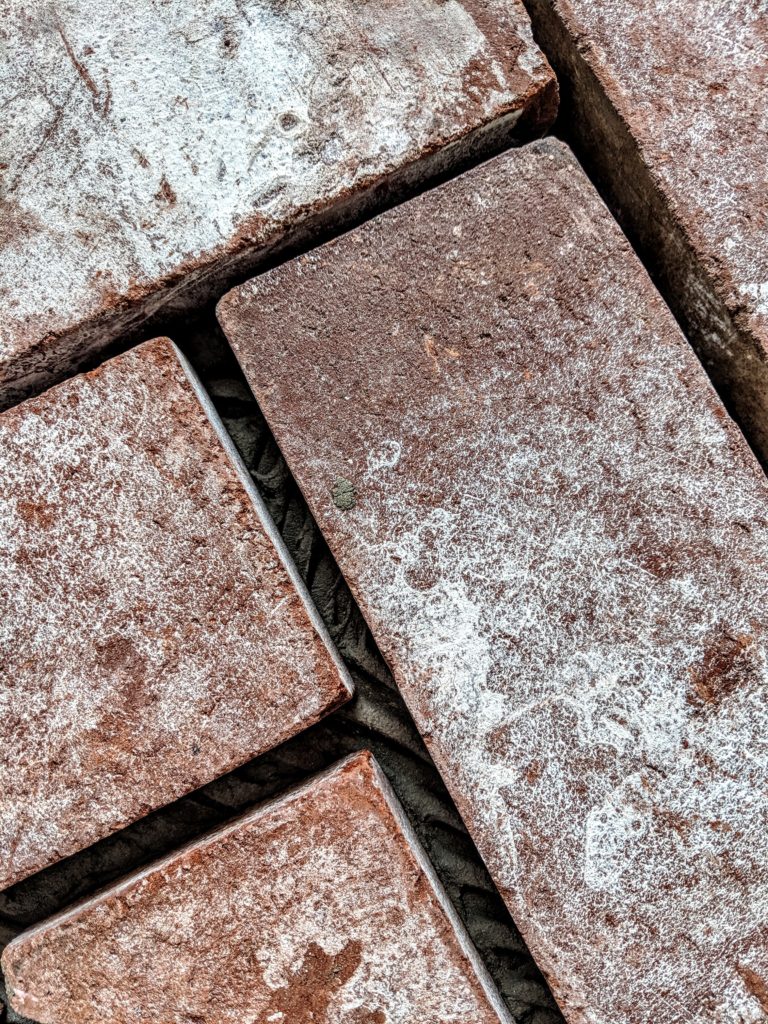
We decided we wanted bricks that match the front of the house in a herringbone pattern. Now, we could’ve paid a contractor to do this, but we knew that on top of the materials we would be paying for labor, labor that we felt like we could manage on our own!
After doing some research, we knew that this surface renovation was something we could handle. The risk-reward of us doing this project was in our favor.
Read on to see a brief overview and then the step by step guide to completing your own flooring renovation!
Project overview:
- Prepare cement step by grinding off paint
- Dry lay the bricks and determine pattern and fit
- Mark the bricks that need to be cut
- Saw the bricks
- Mortar the bricks in place, and wait 24-48 hours
- Grout the bricks with piping bag, float the grout, and sponge off the excess, and wait at least 48 hours
- Seal your handiwork!
Note: Neither my husband or I are skilled craftspeople. Our method, and what I am sharing with you, is what worked best for us and may not be the way the pros would do it. We are super pleased with how our step turned out and we’ve been told it looks professional!
Supplies:
DIY makeover your front porch entryway on a budget — supplies list
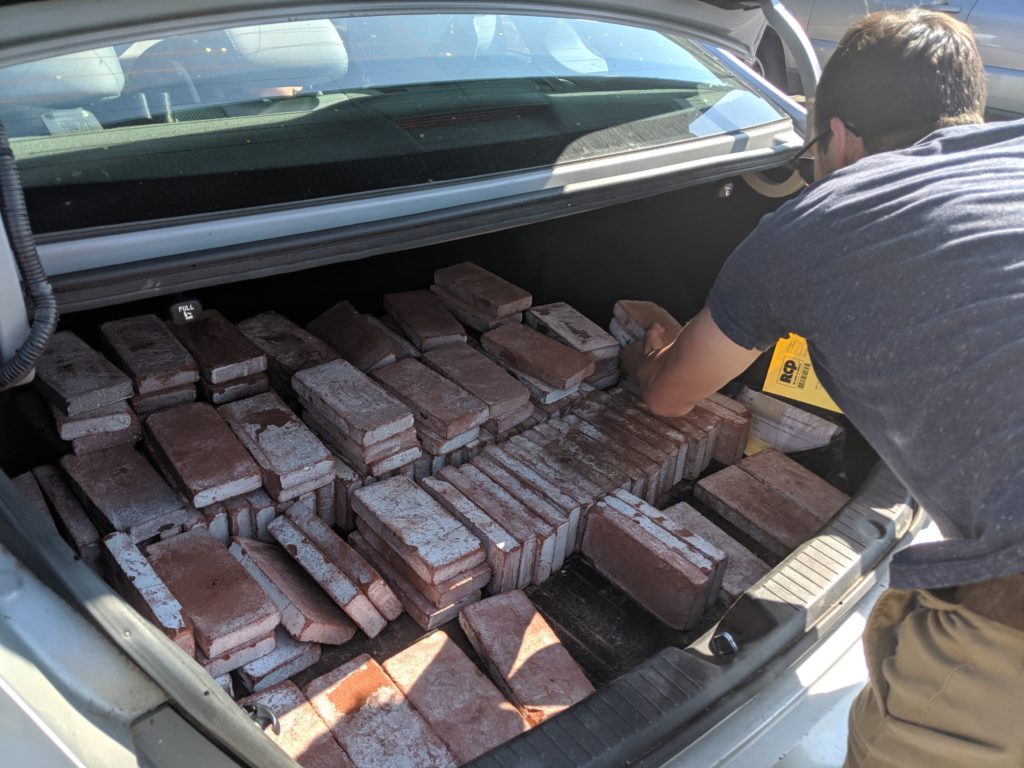
- 150 half bricks or split bricks in “Balboa” to cover our 6 ft x 5 ft space ($200) We got ours from RCP Block and Brick in Santee, California.
- Angle grinder (borrowed)
- Rental of handheld circular cement saw ($149) from Lowes.
- One 50 lb bag of mortar – we used VBM Veneer Bonding Mortar Thinset ($20)
- One notched mortar trowel ($5)
- ⅛” dowel for brick spacing ($2)
- Two 25 lb bags of sanded grout – we used Polyblend Sanded Grout in Natural Gray ($26)
- One grout piping bag ($8)
- One grout float (already owned)
- One small shovel (already owned)
- One 5 gallon bucket (already owned)
- A drill with a mixer attachment (already owned the drill and borrowed the mixer tool)
- Sealer – we used Glaze ‘N Seal Natural-Look Water Based Penetrating Sealer which is a matte sealer so the bricks didn’t look wet when finished ($20)
- Gloves (owned)
- Goggles (owned)
- Face mask – we used buffs (already owned)
- Ear plugs – or in my case Bose sound cancelling headphones because we only had one set of ear plugs (already owned)
- Closed toed shoes – or steel-toed if you have them for sawing the bricks (already owned)
Grand Total spent on this project was… *drumroll* … $430!
Not bad — a surface renovation that changes the whole feel of our entryway for less than $500! We probably would have spent $1000+ if we had hired this job out.
Ready to get down to business? Here are the details to upgrade your entryway step!
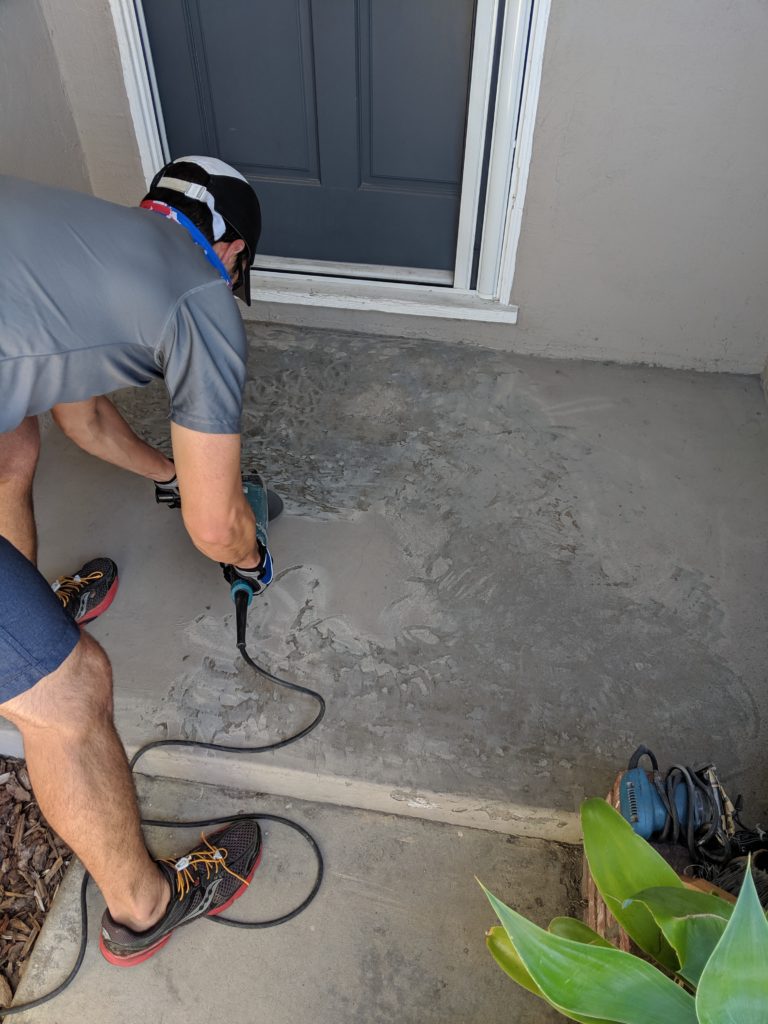
Grinding the paint off the cement
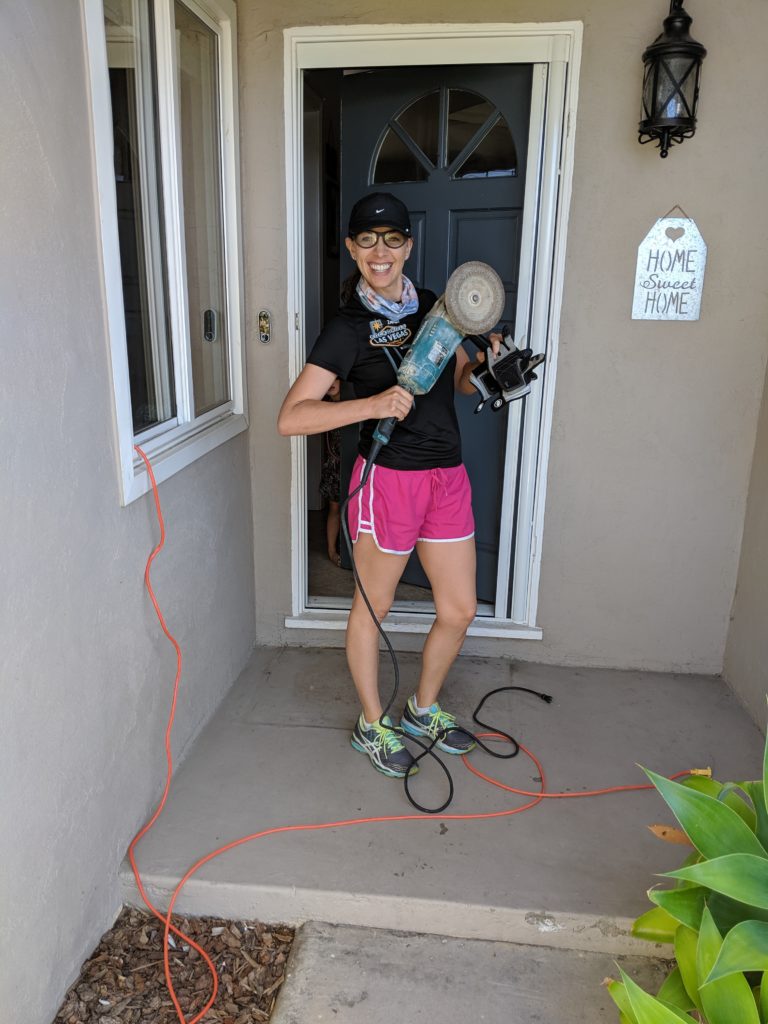
Use angle grinder with a wire wheel to blast off the paint. We found that a 45° angle allowed the wheel to hit the cement at just the right spot to really cut into the paint (hence, “angle grinder”). The grinder will have a bit of a mind of its own so you have to work hard to get it to go where you want it to. It really gets your heart rate up. Just count it as your workout for the day!
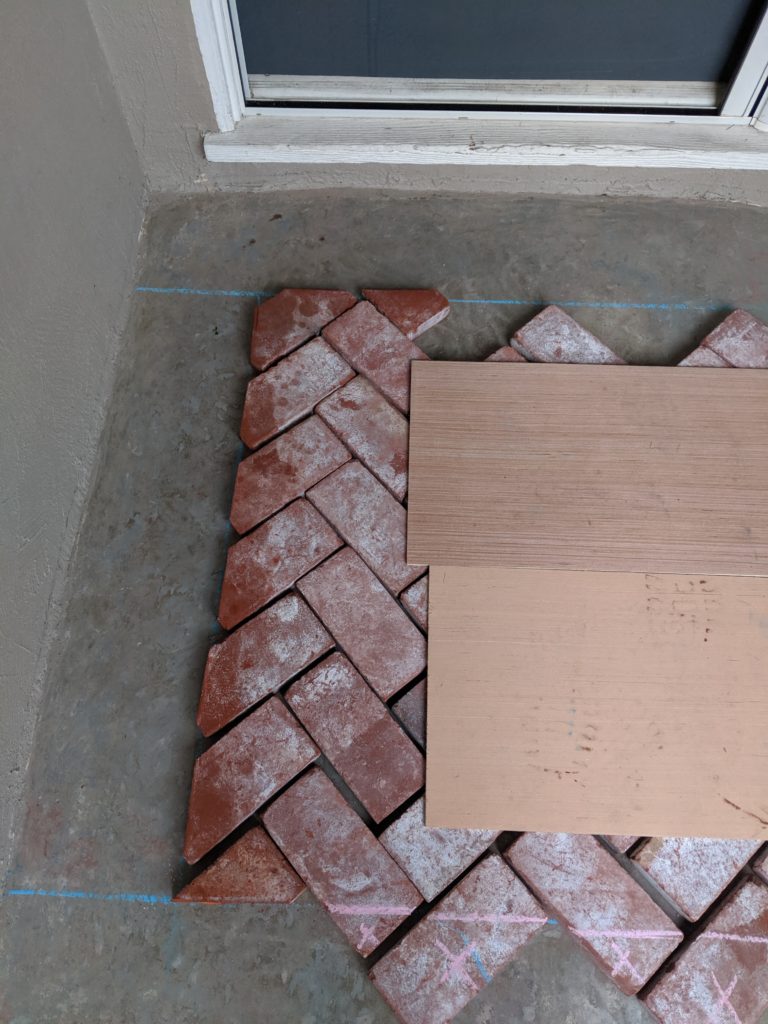
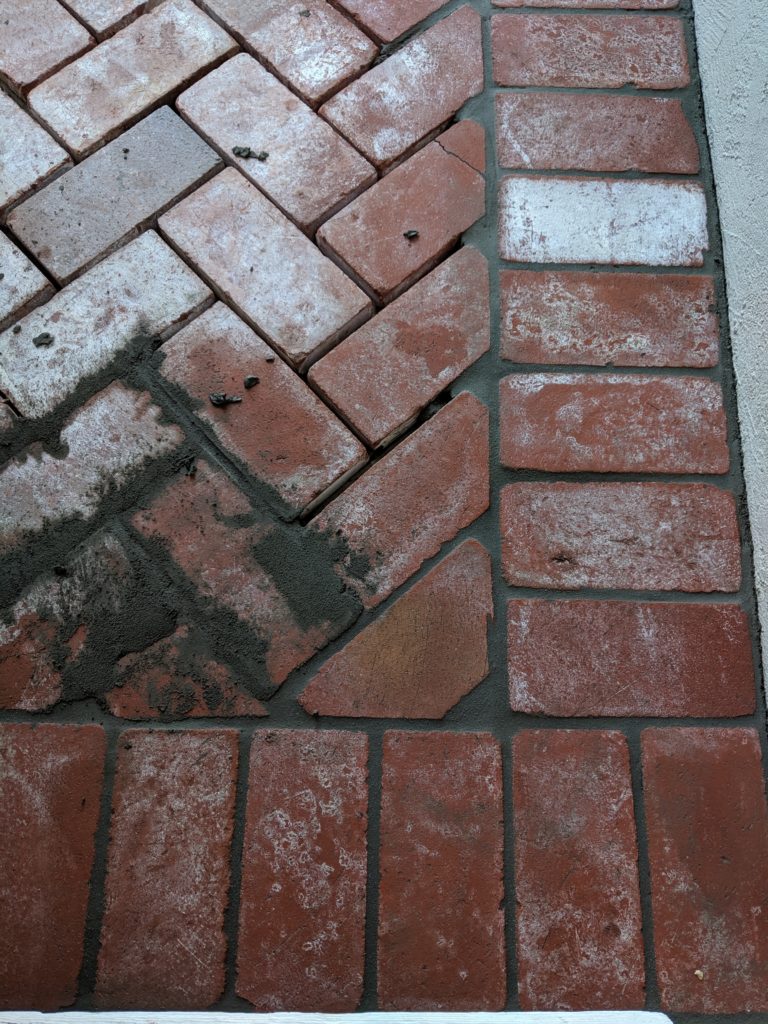
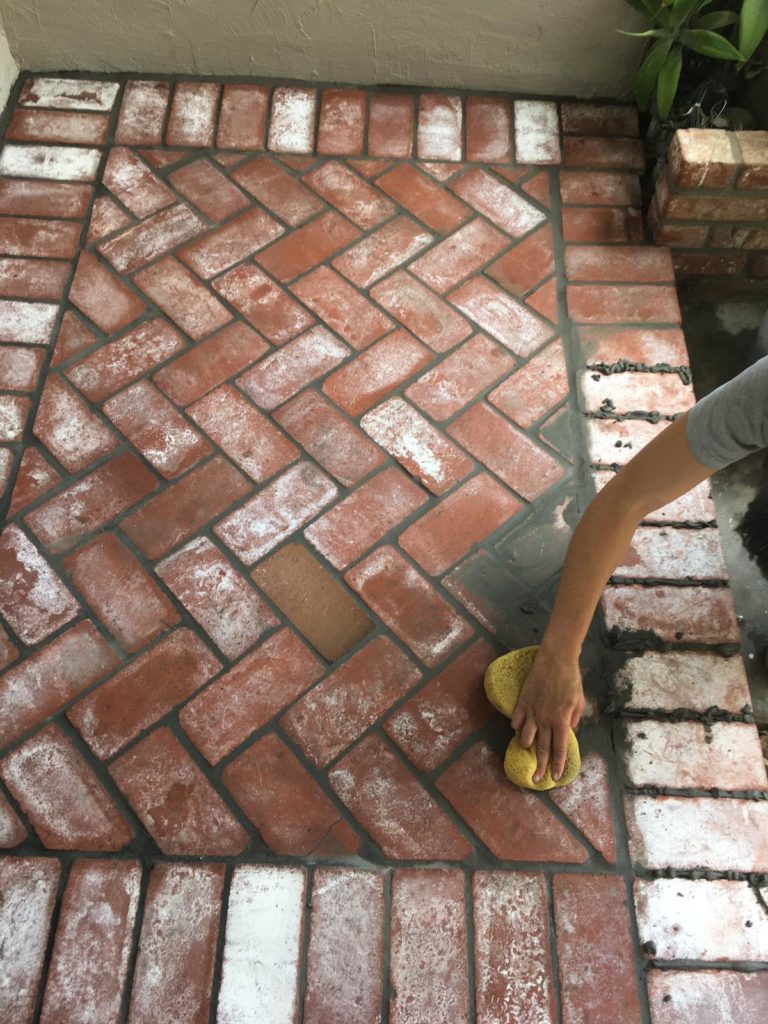
Get your pattern down!
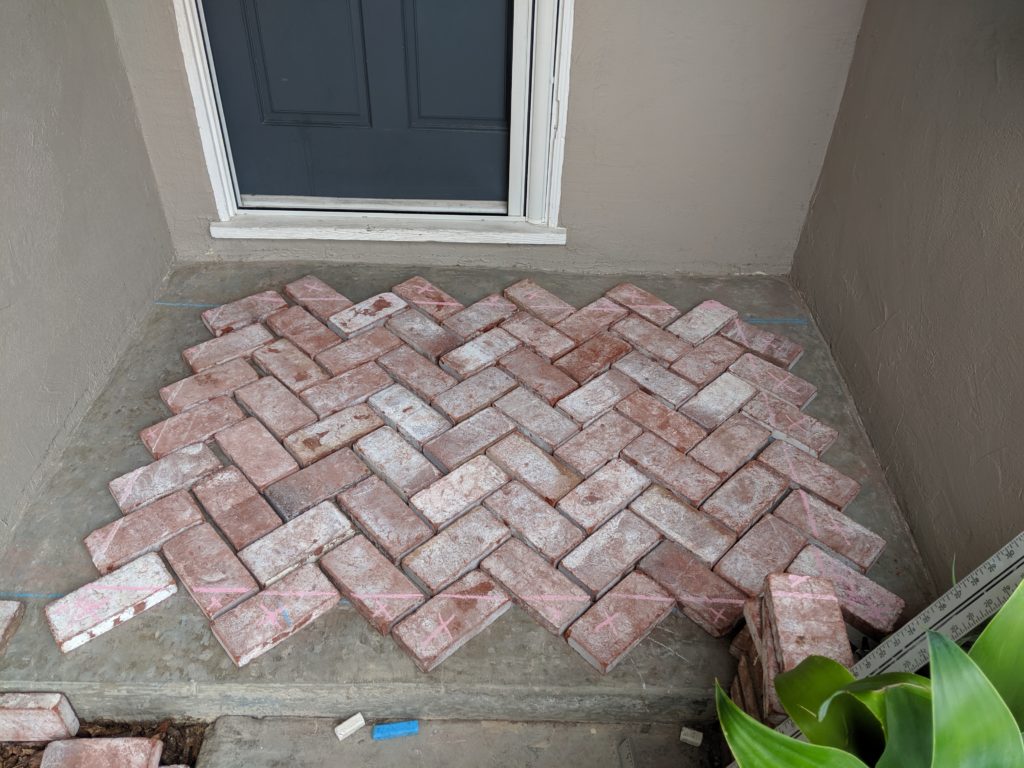
Layout the bricks in a dry run so you can make sure they fit, that you have the spacing that you want, and that the look is what you’re going for. If you are laying in a traditional brick pattern, you may not need to make many cuts. Since we did a herringbone pattern, it required upwards of 40 cuts.
Cutting the bricks
We rented a handheld gas-powered cement saw from our home improvement store. Seeing as we don’t have a sawing table or station, we made our own. We set up a little base of wood propped up on extra bricks to saw the bricks on. We quickly realized we needed to weigh the wood down so it didn’t move while my husband made the cuts. We used a heavy kettlebell, but you may have a better setup. It probably wasn’t the safest.
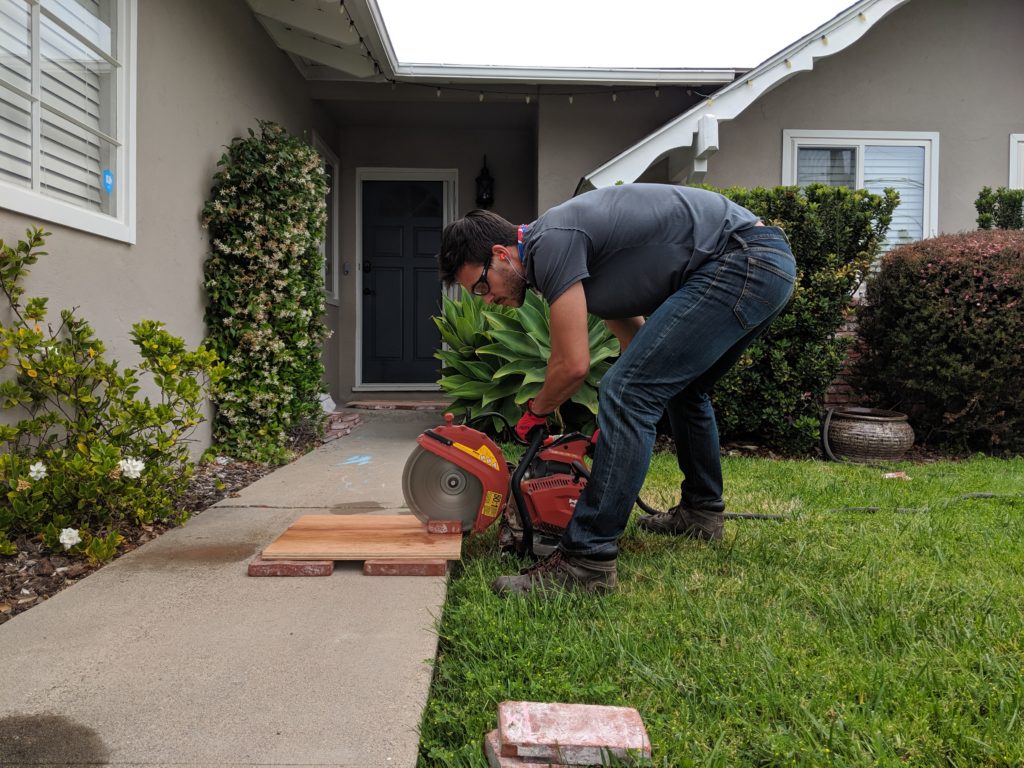
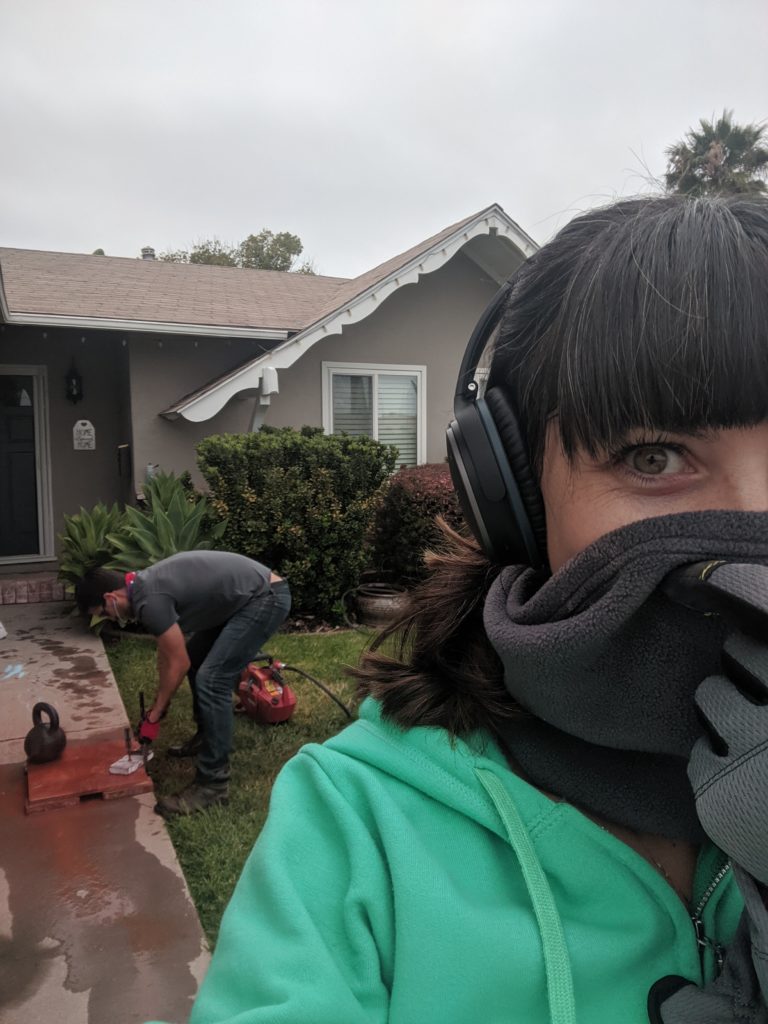

Sawing brick kicks up a lot of dust, so be sure to have your airways protected. Also make sure that the saw you use has a hose hookup, which helps cut down on the dust when cutting. Note: we should’ve used a different marking tool other than chalk on the bricks to mark where to cut them, as the water from the saw quickly made the line disappear!
Y’all, I have to brag on my hubby some here!
He has never used a saw like this and we only had about an hour and a half to use it between ours kids bedtime, when the sun went down, and when we had to return the saw. He rocked it! All his cuts were great, which was super fortunate because we only had just enough bricks for the job!!
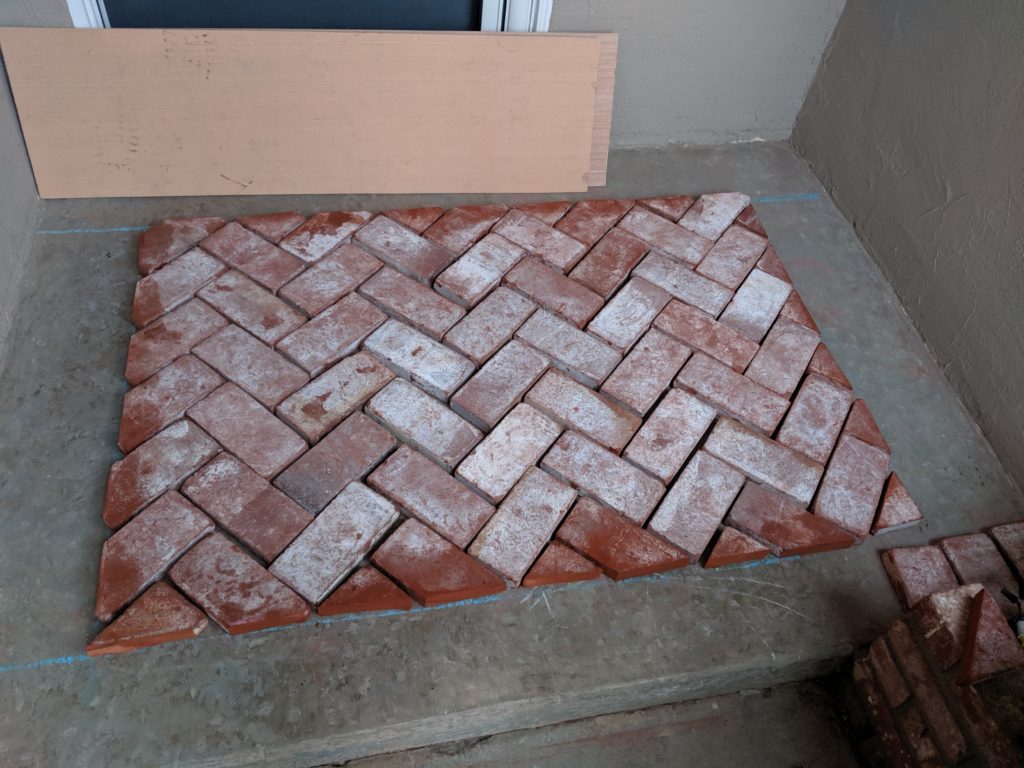
All cuts done, we laid the pieces down again to make sure we were happy. Once your setup looks how you want, you can get going on to the mortaring!
Mortaring
Following your mortar’s specifications, you can mix the mortar and water in your 5 lb bucket. You can do this by hand with a small shovel or the trowel, but we had a paddle mix attachment for our drill and that’s what we used to mix it up pretty easily.
Just in case your mortar doesn’t tell you the ratios, which ours did NOT for some reason, the ratio is often 6qts of water per 50 lb bag, which is 3qts per half bag, and 1.5 qts per a quarter of a bag. We did our mortaring in batches of a quarter of a bag so that way didn’t set up too quickly while we were using it, and we didn’t use more than we needed to.
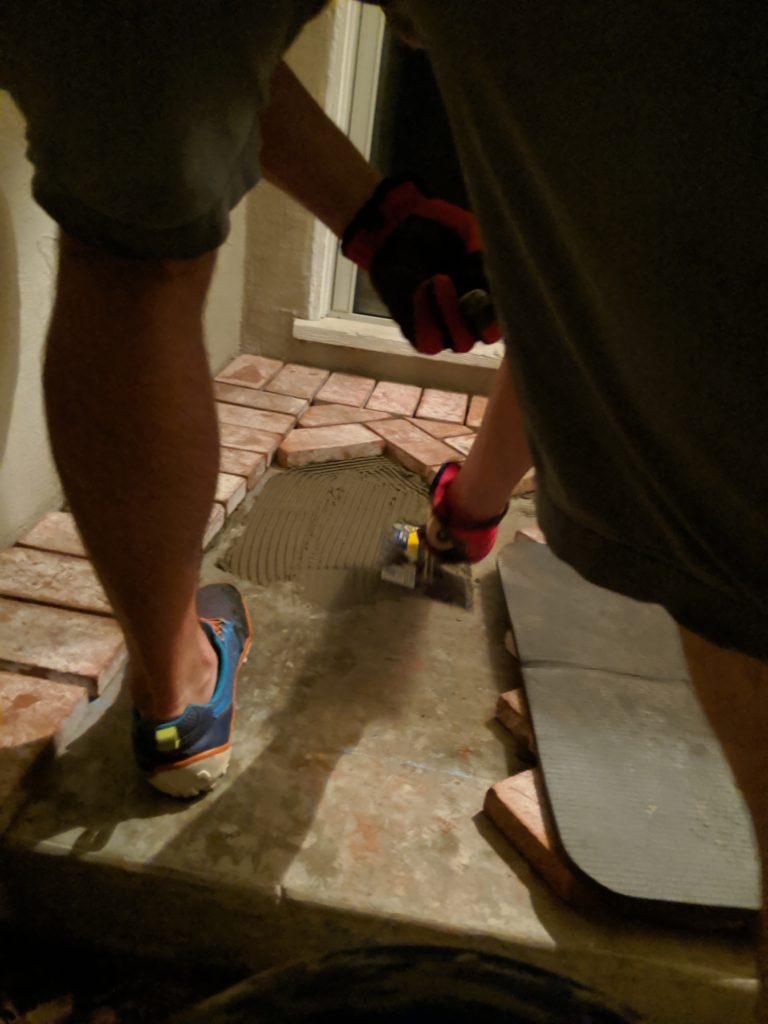
Starting at the furthest corner or wall from you and working towards yourself enables you to do all the flooring without backing yourself into a corner. Once the bricks are laid in the mortar they start to set but they are in no way capable of you walking on them yet. Once you know where you will begin, you can then use a spade or the mortar trowel to scoop the wet mortar mixture onto a small 1×1 or 2×2 square foot surface of cement. Use the notched mortar trowel to make grooves in the mortar at a 45° angle. This allows the brick to adhere to the cement with just the right amount of mortar.
Now place and space your bricks!
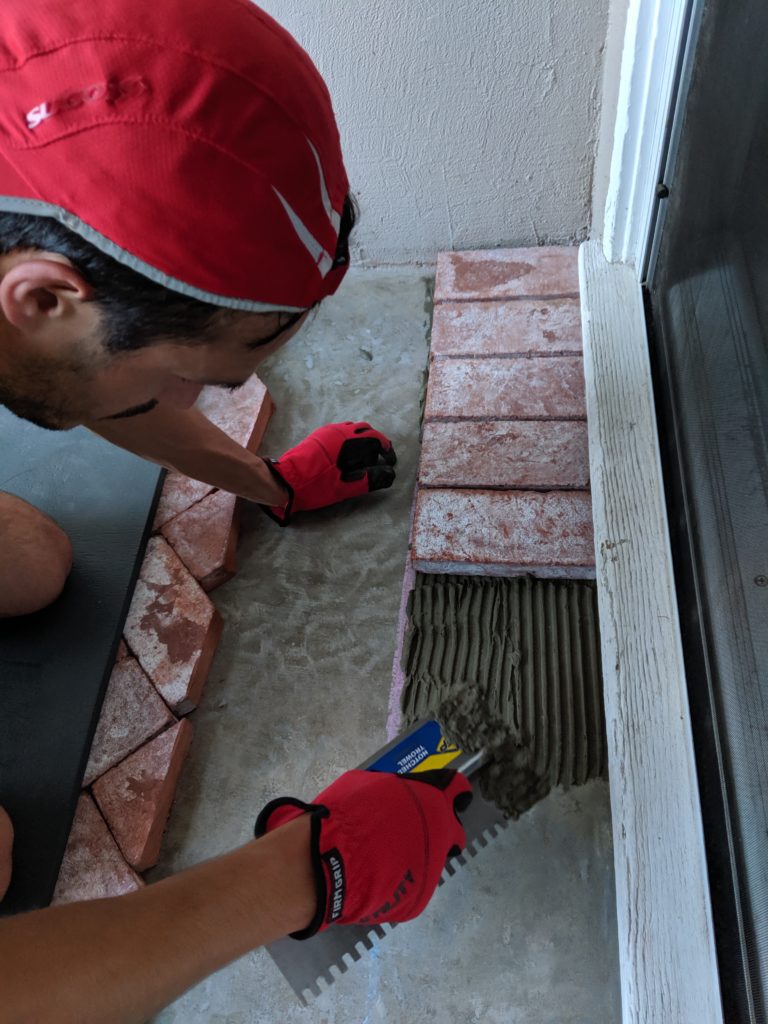
You can use spacers for your project to separate the bricks, but I find them too flimsy with an imperfect item like a brick. Instead of using spacers, what we used was a dowel ⅛” thick that I had picked up from an art supply store.
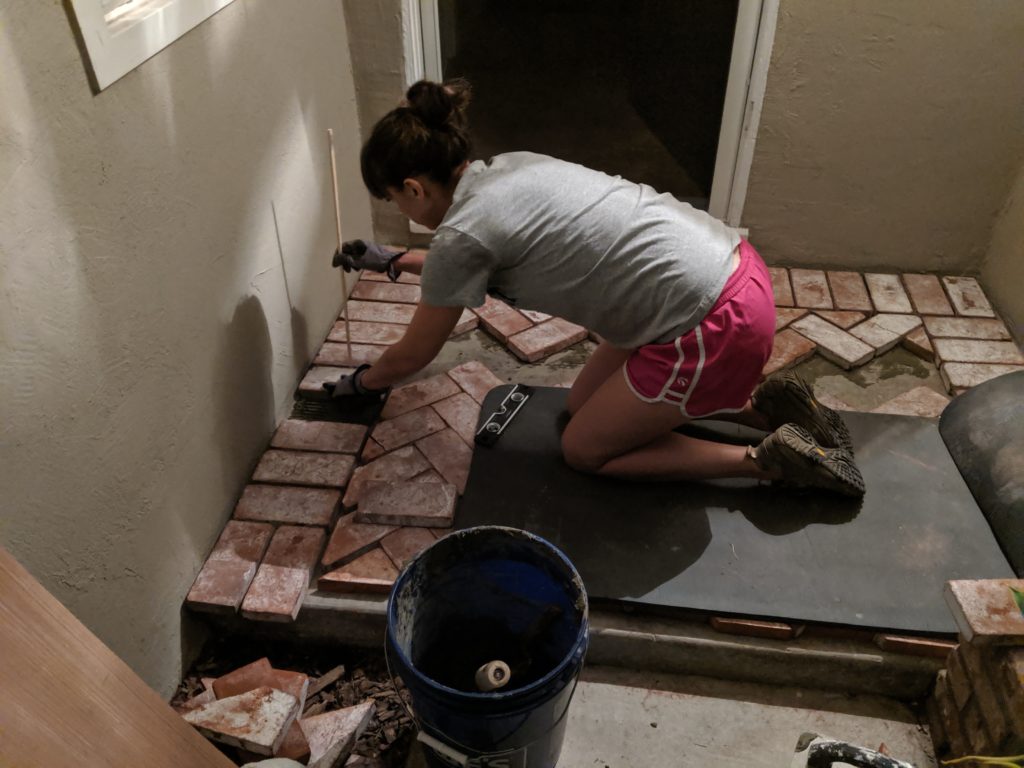

Once you have laid and spaced the bricks on the section you’ve mortared, repeat until you’re through laying all the bricks. By now, it might be hydration time 😉

Let the mortar sit according to your instructions. Usually it is at least 24 hours.
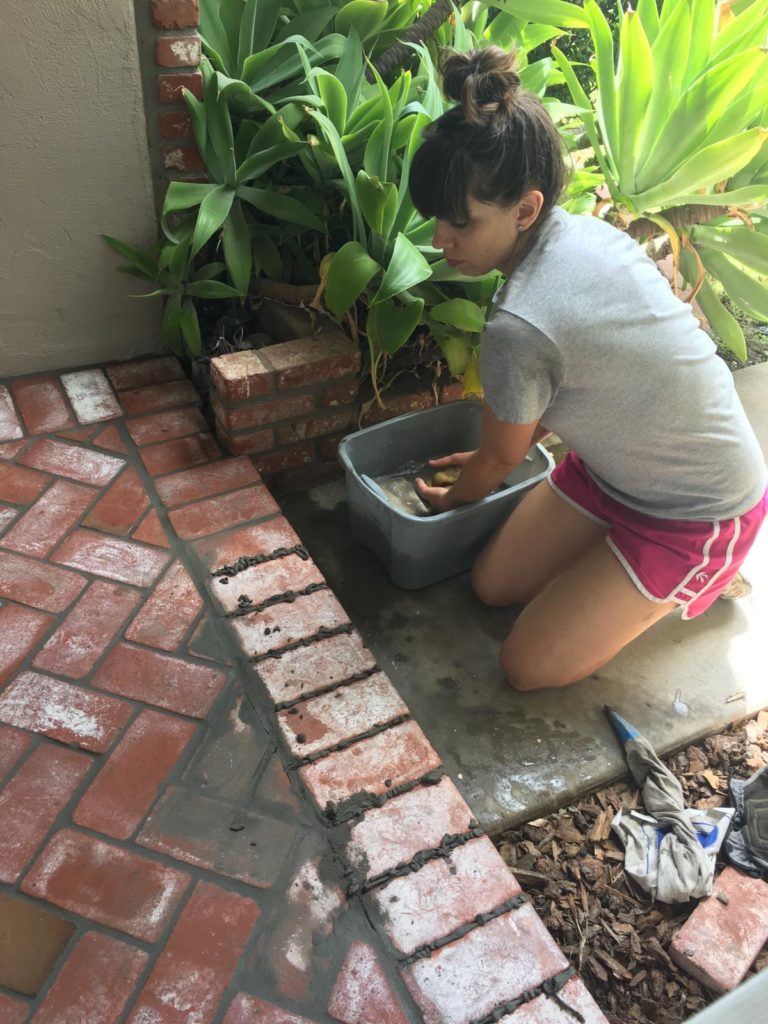
Grouting
We had purchased a piping bag specific for grout from the store that we bought to the brick from. I have always enjoyed baking and cake decorating, so this part of the task I was quite excited about. Piping grout? Heck yeah!
When you mix your grout make sure to make it a little bit wetter than you had your mortar because the grout needs to be able to easily slide through the bag and out the piping hole into the grout lines. If the grout is too thick this can be really arduous task.
We prepared only half a bag of grout at a time so that it wouldn’t dry out too soon! Our water to grout ratio was ~2 Liters to one 25 lb bag. Since we made a half bag at a time, it was ~1 Liter of water at a time.
Again working from the furthest point and working towards yourself, you can grout many lines at once. Then take a break from the piping bag get your grout float and use the float to smooth the grout and remove the excess.
Note: Grouting is messy. You will find that with the grout float and even maybe with your piping, that the grout ends up on top of the brick. This is to be expected. That’s where the sponge comes in!
After you have used the grout float on all your grout lines, now it’s time to get a damp sponge. We kept the bucket of water and sponge right next to us, which was important because you need to clean out the sponge a lot as you go.
Wring out the sponge until it’s just damp and use the sponge to clean up any excess grout. The beauty of the sponge besides cleaning the surface of the brick, is that it also smooths out the grout lines and makes it look finished.
Once you’re done with your sponging you can go back to laying more grout lines with the piping bag, then floating. Then sponge again. Keep going through this process until finished!
Again let this grout dry for about 24 to 48 hours before sealing.
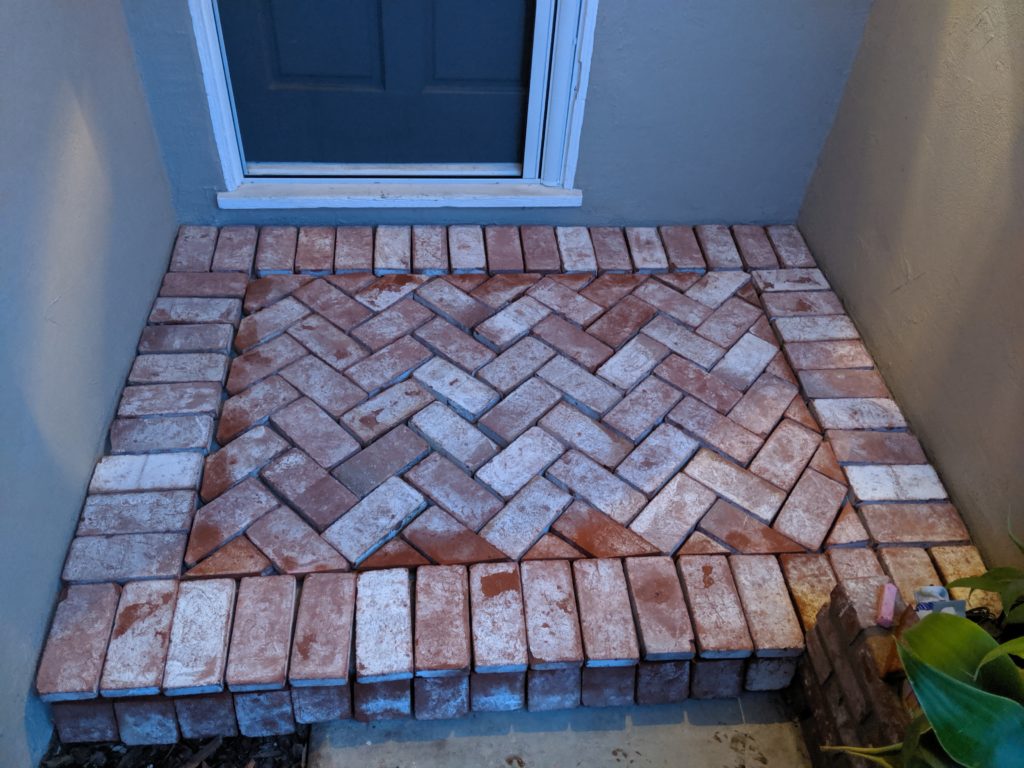
After sealing, you are done with you DIY makeover of your front porch entryway on a budget!!
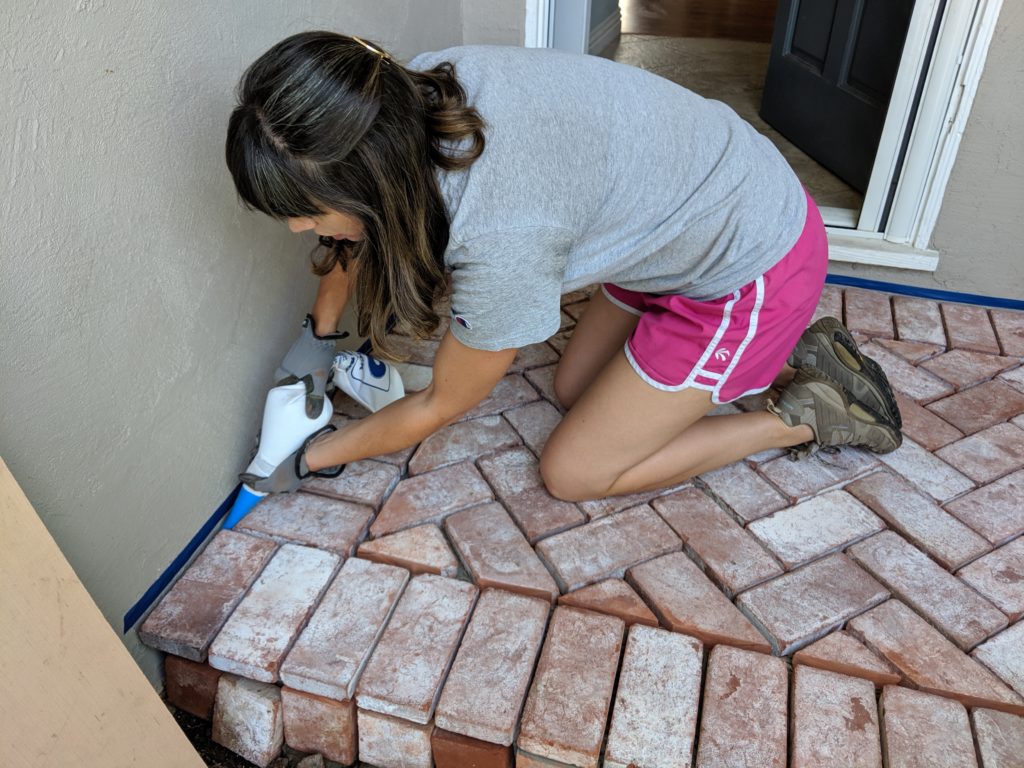
For sealing we bought a surface penetrating sealer that we painted on and let sit for a few minutes before removing the access with a cloth.
The sealer protects your beautiful flooring by repelling dirt, water, and mildew. You don’t want your hard work to be for naught, so seal, seal, seal! Bricks are a natural porous material and applying the sealer allows for your handiwork to last for years to come.
Apply the sealer with a brush and let penetrate for just a couple minutes before wiping off the excess. Let dry! After four hours you can test it’s repellency by sprinkling a couple drops of water on your brick. If it beads, your sealer is doing its job! Let dry and cure completely for at least 24 hours. (Yes, more waiting.)
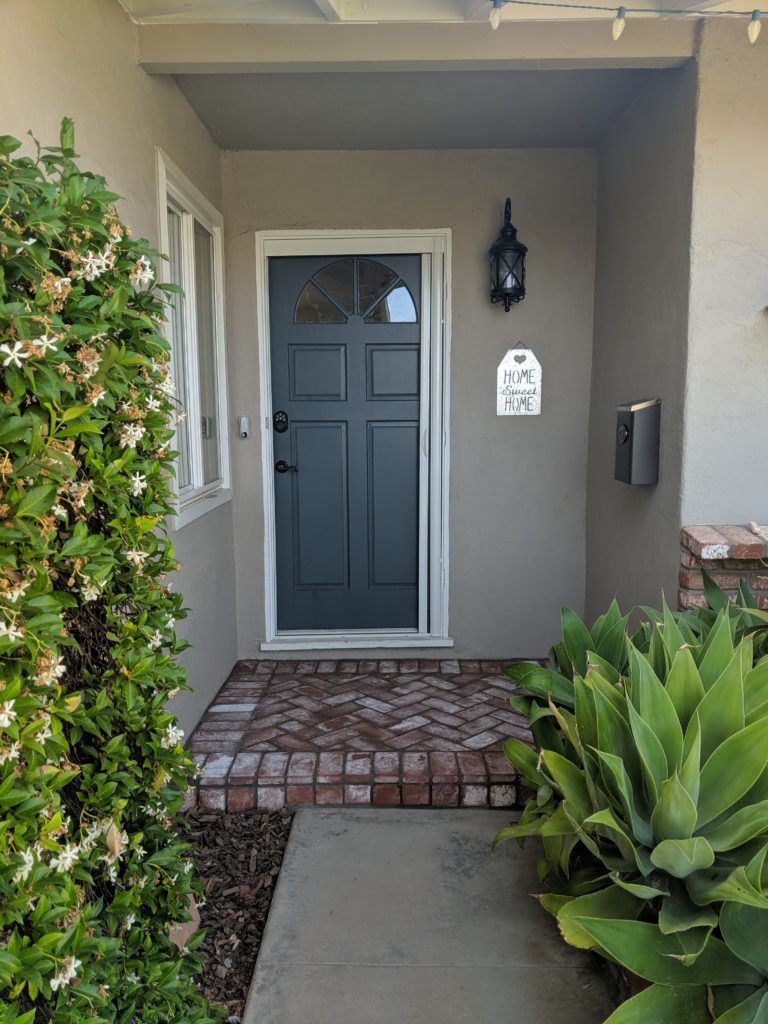
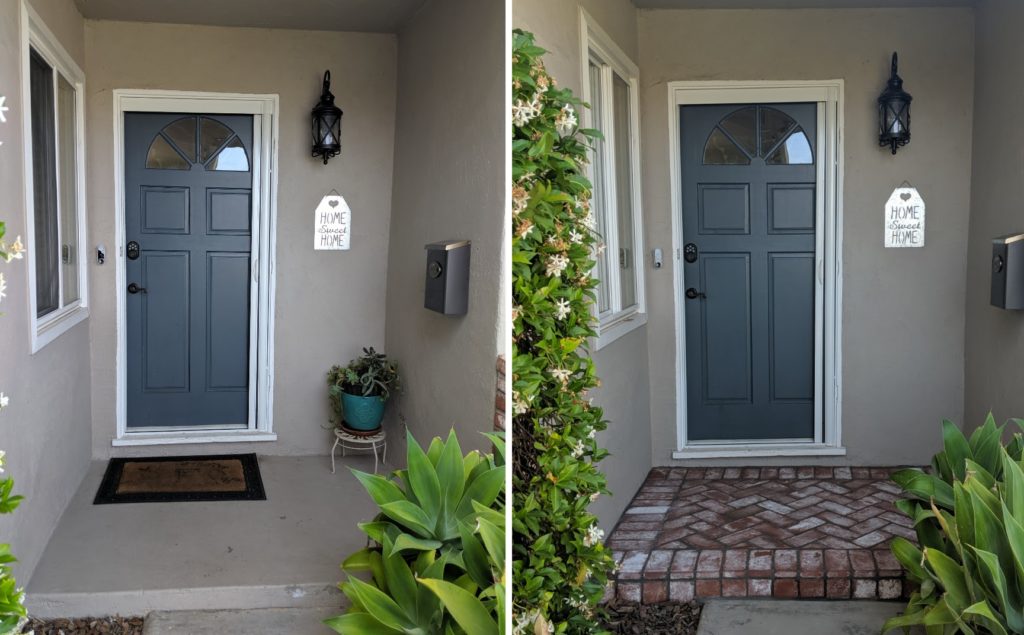
And that’s it!
I love the subliminal “welcome” that the arrows of the herringbone pattern create as they direct people into the front door.
So, folks, that is how you can upgrade your front step or flooring, DIY style, without spending loads of money like you would if you had to hire the job out!
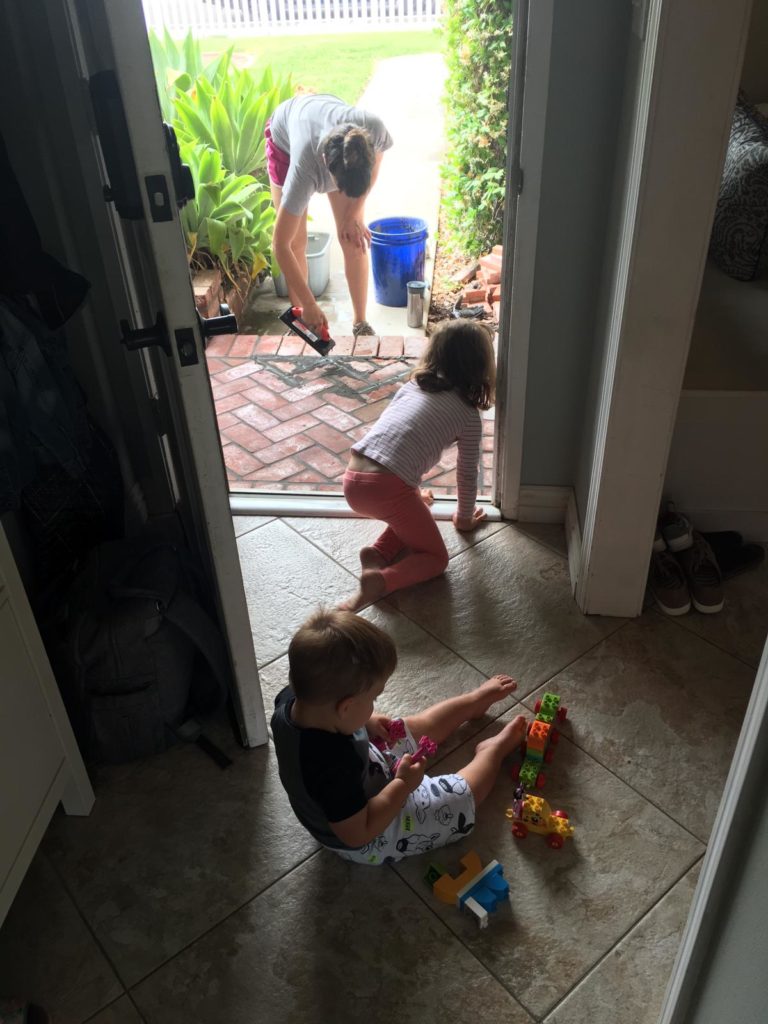
It may not be a quick task, especially with all the waiting for cements to dry (it took us the course of a week, especially since we have the kids’ schedules to work around), but it also wasn’t too crazy heavy duty.
It takes some precision and it takes some focus, but to diy makeover your front porch entryway on a budget is something that anyone can do especially with the help of this handy-dandy guide!

Thank you for including a DIY pin!! I was beginning to think I was the only crazy one who takes on these kind of projects. YOUrs turned out great! very impressed!!
Hey Kate! You’re so welcome. Haha we are a special brand of crazy aren’t we? I love reading others’ DIY posts too! Thanks for the compliments! We are stoked with how it turned out.
the results are amazing! Kudos to you guys!! it looks like it’s done by a pro. Now, you’re giving me the idea on how to spruce up our front door 🙂
It looks great! well done
Came out great! It is so satisfying when you do something yourself!
I am a huge diyer and love anything to do with saving money by doing your own projects!
OMG, this looks great. I love brick! Btw , we DIY all the time here and my hubby is a coors light fan so this is exactly how we roll too! haha
WOW!! I’m gonna need ya’ll to come on over to my house =) That looks incredible! great job!
What a beautiful transformation! You gave Great step-by-step directions. Loved the pics, too, since i’m Very visual.
Great photos and great work. I especially loved the italian job movie reference. This gives hope to those of us who aren’t as handy and want to do a diy project. Thanks for sharing.
Wow! This is beautiful. I can’t believe it was under $500! Bravo. (Side note…thanks for supporting coors! LOL I’m a colorado girl!)
Awesome work! It turned out beautiful!!
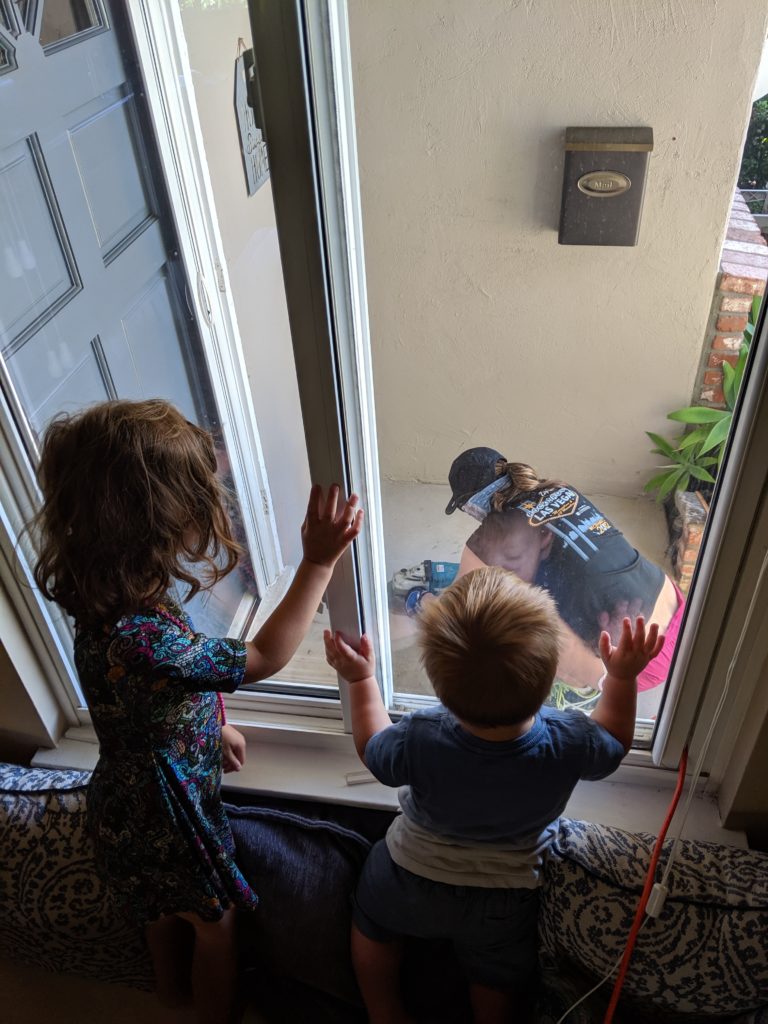
I love this!!!! Two thoughts as I read… where are your knee pads girl? And… your kids might have been frustrated to not have you play for a bit, but watching mommy do the manual labor is good for their growth and developmental. that wasn’t a daddy thing. It was something that both genders were capable of tackling!
BEAUTIFUL JOB! I LOVE HOW YOU DOCUMENTED THE PROCESS SO WELL WITH PICTURES! THE BEST PART IS KNOWING YOU DID IT YOURSELF, SO MUCH REWARDING THAN HAVING SOMEONE COME AND DO IT FOR YOU. I ALSO LOVE HOW MUCH MONEY YOU SAVED!!!
Great job! projects like these are always worth the intense efforts!
Great job, looks awesome! Ya’ll are so handy!!
I love the make-over! it makes the front entrance look much more welcoming. you guys did a great job!
Thanks so much Catherine!!
looks so much better! Fresh and inviting. amazing how a small change can make such a big difference! great job!
Your Step by Step makes it look so possible. And I agree, the “arrows” do point the way home
What a great DIY! Makes such a huge difference in the look and feel of the entry way!
I think it looks awesome! What a nice upgrade!
It looks beautiful! You and your husband did a great job.
Wow, what a difference. Great job!
I love it! Looks great. It’s similar to a project we just did on our patio. Nice work!
This is nice! I Love DIY projects! Thanks for sharing.
That looks so wonderful! I would love to venture into laying bricks/tiles – it seems so daunting. It turned out beautifully. My daughter helps me with some of my projects but she gets frustrated with me not playing too. Lol!
WOW! Great job! You guys are the dream team 🙂
My boyfriend officially hates me after showing him your post! I always come up with projects around the house and I told him, “look how easy!” I think you did a great job on the makeover and hoping we can do something similar to ours because our porch is looking sad. Great job! What a change to the front of your home!
Beautiful work! I admire your willingness to do the renovations YOURSELVES. The results are amazing and you are learning great new skills!
nice job!
LOVE the new entry!!! It looks great!!!
Looks so great! Where did you purchase these bRicks? Ty
Thanks! I got them at a local brick and rock supply in town.